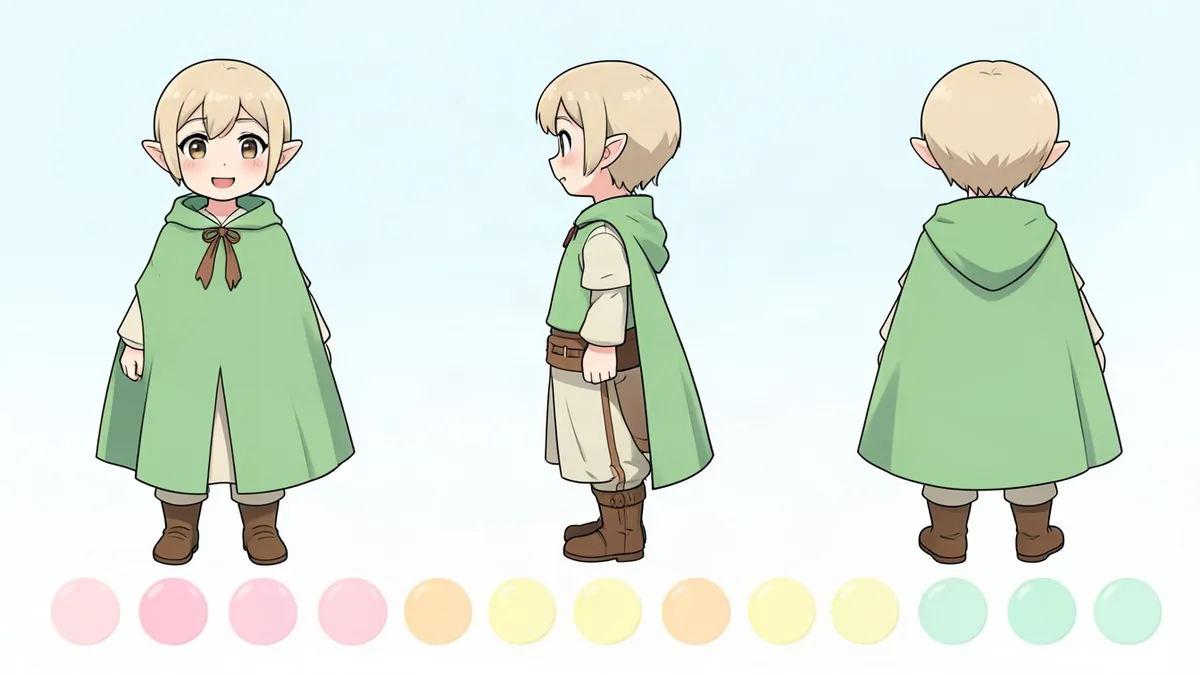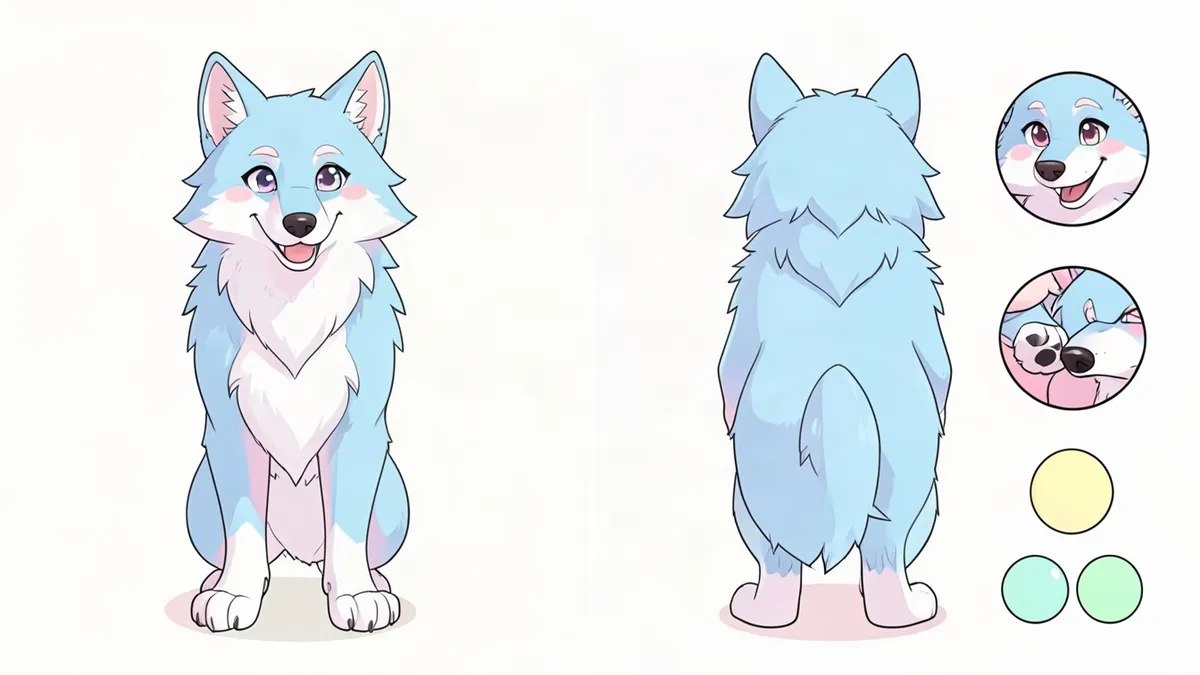
A fursona ref sheet, short for fursona reference sheet, is one image that shows exactly how your character looks, so anyone can draw them correctly. If you commission art, order a badge or join an art trade, the first thing an artist will ask for is your ref. Without one, they're guessing which leg has the sock and what color the inside of the ears is. This guide covers what belongs on the sheet and how to lay it out.
What goes on a fursona ref sheet
Front view
A full-body drawing, standing straight, arms slightly out, facing the viewer. Keep the pose plain. The goal is to show the design, and a dramatic pose hides it.
Back view
Fursonas need a back view more than human characters do. Tails, back stripes, shoulder spots, wing joints and the backs of the ears are all invisible from the front. Draw it at the same size as the front view.
Color palette swatches
Put a row of flat color squares on the sheet, one for each color in the design:
- Main fur color
- Secondary fur color (belly, muzzle, inner ears)
- Marking colors
- Hair, if the character has it
- Eye color
- Nose, paw pads and tongue
- Claws, horns or hooves
Label each one ("main fur," "socks") and add hex codes if you work digitally. Artists pick colors directly from swatches, so keep them flat, with no shading or texture.
Markings
Show every marking clearly at least once. For anything that isn't obvious, add a small close-up or a short note:
- Which side an asymmetrical marking is on ("left ear only")
- Whether stripes wrap all the way around a limb or tail
- Where a color change has a hard edge and where it fades
- Paw pad shape and color, shown on one open hand and one foot
Expressions
Three or four small headshots: neutral, happy, annoyed and one face that's very them. Expressions tell an artist how the ears and eyebrows behave, and they add personality to the sheet.
Notes
A short text block:
- Name and species
- Pronouns
- Height or size compared with others
- Three personality words
- Dos and don'ts, such as "always wears the scarf," "tail is short, not long" or "eyes are never drawn red"
Optional extras
- A feral, four-legged version
- A second flat view in a plain outfit, such as shorts and a tank top, if the usual clothes cover important markings
- Accessories drawn separately: glasses, bag, collar tag
- An alternate outfit
Keep the sheet all-ages. A clean ref is one you can send to any artist and post anywhere.
A simple layout template
Use a landscape canvas, around 3000 by 2000 pixels or larger.
- Left third: front view, full height
- Middle third: back view, same scale, feet on the same ground line
- Right third, top: name, species and notes
- Right third, middle: expression headshots in a row
- Right third, bottom: close-ups of paws and tricky markings
- Along the bottom edge: the palette swatches in one strip
Leave the background white or very light gray. Colored backgrounds shift how the fur colors look.
Layout tips
- Biggest thing first. The front view should be the largest element.
- Line things up. Put head tops and feet of both views on shared guide lines.
- Use flat colors on the main views. Heavy shading makes it hard to tell what's a marking and what's a shadow.
- Point with lines. A thin line from a note to the exact spot beats a paragraph.
- Keep text short. Artists skim. Use labels, not stories. Save the backstory for a separate profile.
- Sign and date it. If you update the design, old versions won't get mixed up with the new one.
Three ways to make one
Draw it
Sketch the front view, flip and adjust it for the back view, then add flats. Our general character reference sheet guide goes deeper on turnarounds.
Use a ref sheet base
A ref sheet base is a pre-drawn template with front and back views of a blank animal character, plus empty swatch boxes. You fill in colors and markings. Bases are either free to use or pay to use. Credit the base artist on the sheet and follow their rules. Many don't allow bases on designs you sell.
Generate one
In the Fursona Maker, you first create your character, then choose "Make a ref sheet." You get a sheet with front and back views and a color palette with swatches and hex codes. Add your own notes, expression sketches and marking close-ups on top in any image editor.
Before you send it to an artist
- Check the colors on a second screen
- Make sure the back view matches the front (same socks, same tail tip)
- Export a full-size PNG, not a compressed screenshot
- Include a line about anything you care about most
Haven't finished the design yet? Go back to how to make a fursona or browse fursona ideas.
FAQ
What should a fursona ref sheet include?
A front view, a back view, labeled color swatches, clear markings, a few expressions and short notes with the name, species and important details.
Do I need a ref sheet to commission fursona art?
Most artists strongly prefer one, and some require it. A clear ref saves questions, avoids mistakes and usually means you get the finished art faster.
Is there a fursona template I can fill in?
Yes. Ref sheet bases are blank front and back views with swatch boxes that you color in. Check whether the base is free to use or pay to use, and credit its artist.
How many colors should be on the palette?
Every color that appears in the design, usually five to eight swatches once you count eyes, nose, paw pads and claws along with the fur colors.