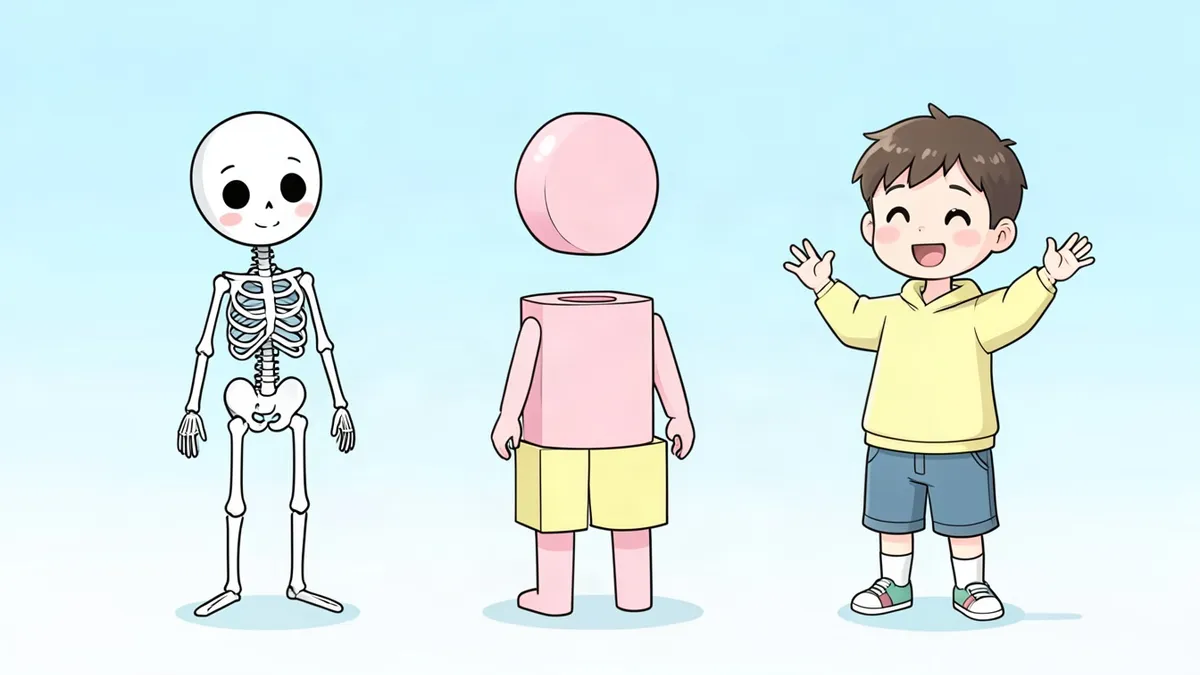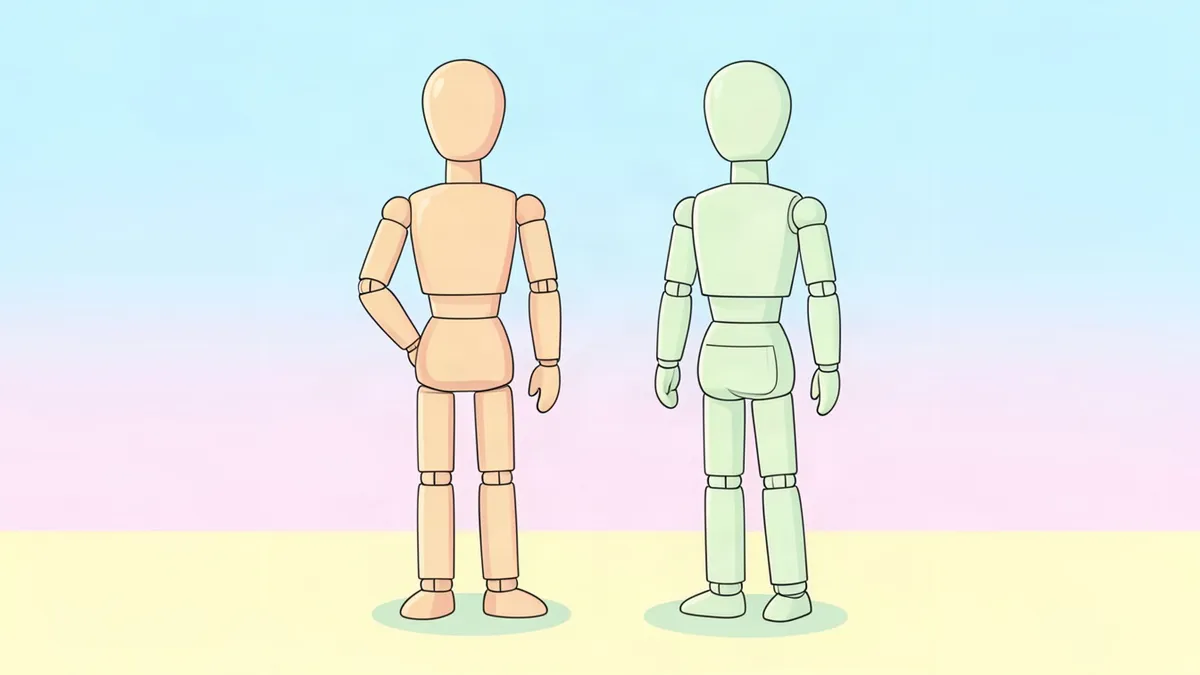
To learn how to draw a body, you need two things: a set of proportions that tells you where everything goes, and a set of simple shapes to build with. This guide gives you both, then puts them together as a body base you can reuse for any character.
It covers the standing adult figure from the front. For a quicker clothed figure, see how to draw a person.
Body proportions in heads
Artists measure the body with the head as the unit. A real adult is about seven and a half heads tall. Many artists round up to eight because the landmarks then fall on whole numbers:
- Line 1: chin
- Line 2: middle of the chest
- Line 3: navel, with the elbows at the same level
- Line 4: crotch, which is the midpoint of the whole body, with the wrists at the same level
- Line 5: mid-thigh, where the fingertips reach
- Line 6: just below the knees
- Line 7: mid-shin
- Line 8: soles of the feet
The shoulders are about two head-heights wide, a little more for a broad build.
How to draw a body step by step
- Draw the chart. Make a vertical line and divide it into eight equal parts. Draw the head in the top part.
- Draw the ribcage as an egg shape, wide end up. It starts just under the neck and ends a little above line 3.
- Draw the pelvis as a wide, shallow box or bowl between lines 3 and 4.
- Join them with the spine. Leave a gap between ribcage and pelvis. This gap is the waist, and it's where the body bends and twists.
- Mark the joints with small circles: shoulders at the top corners of the ribcage, elbows on line 3, wrists on line 4, hips at the lower corners of the pelvis, knees just above line 6 and ankles just above line 8.
- Connect the joints with tapered cylinders. The upper arm and forearm are close to the same length. So are the thigh and the lower leg.
- Add the neck as a short cylinder, and slope the shoulders down from it to the shoulder joints.
- Add hands and feet. Draw hands as mittens ending at line 5. Draw feet as wedges.
- Draw the outline over the shapes. Let the line curve in at the waist, out over the hips and in again at the knees and ankles.
- Erase the construction. What remains is your body base.
Changing the build and the age
Keep the vertical landmarks and change the widths:
- Broad build: wider ribcage and shoulders, thicker limbs.
- Slim build: narrower ribcage, longer-looking limbs.
- Curvier build: wider pelvis, more difference between waist and hips.
- Age and style: change the head count. Young children are about four to five heads tall, teenagers six to seven and heroic figures eight or more.
How to draw legs and feet
- Legs are half the height. The knee sits at the middle of the leg.
- Legs taper inward. From the front, the thighs angle in from the hips toward the knees. Two straight parallel posts look wrong.
- The calves aren't even. The outer calf bulges higher up than the inner calf.
- The ankle bones aren't even either. The inner ankle bone sits higher than the outer one.
- Feet from the side are a long wedge: a round heel, a low arch and a flat ball and toes. A foot is roughly as long as the forearm.
- Feet from the front are a shorter wedge, wider at the toes, with the big toe on the inside.
Common mistakes and how to fix them
- Arms that stop at the waist. Wrists belong on line 4 and fingertips on line 5.
- Legs too short. The crotch is the midpoint. Measure it.
- A torso drawn as one block. Split it into ribcage and pelvis so it can bend.
- Narrow shoulders. Check for two head-heights.
- Limbs like pipes. Taper every cylinder toward the wrist or ankle.
- A head sized by guess. Draw the chart first and fit the head to it.
Practice drills
- The ladder. Draw the eight-part line five times and label each landmark from memory.
- Three bases. Build a body base standing, sitting and walking, using only the ribcage, pelvis, joints and cylinders.
- Tilt thumbnails. Draw ten small torsos where the ribcage tilts one way and the pelvis tilts the other.
- Foot page. Draw your own foot ten times as a wedge, from the side, the front and above.
Use your body base for a character
A body base is a tool. Draw one you like, trace it lightly, and design a different character on top each time. If you'd rather not start from zero, OC drawing bases explains how to use bases made by other artists fairly, and the Chibi Maker can generate a blank chibi base to draw on. For a full reference, design a character in the Character Creator.
Next: how to draw hands, how to draw people and, for stylized figures, how to draw anime characters.
FAQ
How many heads tall is the human body?
About seven and a half heads for an average adult. Artists often use eight heads because it makes the landmarks easy to place, with the crotch exactly at the midpoint.
How do I draw a body base?
Draw an egg for the ribcage and a shallow box for the pelvis, mark the joints with circles, connect them with tapered cylinders and outline the result. Leave out clothes, hair and face.
What is the easy way to draw a body for beginners?
Use the head as a ruler. Divide the height into eight parts and place the chin, chest, navel, crotch, mid-thigh, knees and feet on the lines before drawing any outline.
How do I draw feet?
Start with a wedge. From the side it's a long triangle with a rounded heel. From the front it's a shorter wedge that widens toward the toes. Add the toes last.