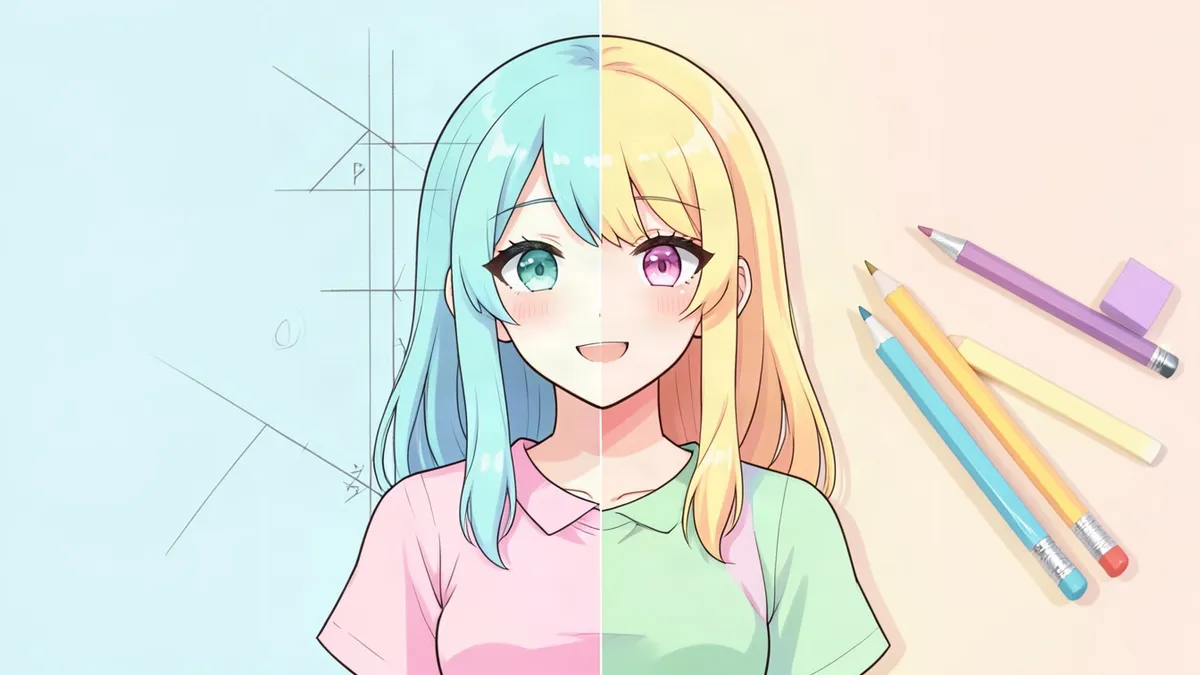
Anime characters look simple: a few lines for a nose, big eyes, spiky or flowing hair. But that simplicity is exactly what makes them tricky. Every line matters. This guide walks you through drawing an anime character from a blank page to a finished, colored drawing. All you need is a pencil, an eraser and some paper, or any drawing app.
What you'll need
- A pencil (HB or 2B) for sketching, or a light-colored sketch layer if drawing digitally
- An eraser
- A fine-liner pen or an inking brush for the final lines
- Colored pencils, markers or a drawing app for coloring (optional)
Step 1: Draw the head shape
Start with a circle for the top of the skull. Then draw the jaw below it:
- Draw a circle.
- Draw a vertical line down the middle, extending below the circle. This is the center line.
- From the sides of the circle, draw two lines that angle inward to a point on the center line. That point is the chin.
Anime jaws are usually narrow and pointed for teenage characters, wider and squarer for adult or tough characters, and round for young or cute characters.
Step 2: Add face guidelines
Draw a horizontal line across the middle of the face (roughly the bottom of the circle). This is the eye line. Anime eyes sit on or just below this line, which is lower on the face than many beginners expect.
- The nose goes about halfway between the eye line and the chin.
- The mouth sits about one-third of the way from the nose to the chin.
- The ears go between the eye line and the nose line on the sides of the head.
Lightly sketch these guidelines. You'll erase them later.
Step 3: Draw the eyes
Eyes are the heart of the anime style.
- Draw the upper lash line. Make it thick and slightly curved. It's the boldest line on the face.
- Add the iris. A tall oval that touches or slightly tucks under the upper lash line.
- Add the pupil inside the iris.
- Add highlights. One or two small circles that stay white. Put them on the same side for both eyes.
- Draw the lower lash line. Usually just a short, thin line, or a few marks.
- Add eyebrows. Thin lines above the eyes. Their angle shows emotion.
Keep the space between the eyes about one eye-width apart. Bigger, rounder eyes look younger and cuter; narrower, sharper eyes look older or more serious.
Step 4: Nose and mouth
Less is more:
- Nose: a small dot, a short line or a tiny triangle-shaped shadow. Front views often show just a hint.
- Mouth: a short line for a neutral face. For a smile, curve it up; for an open mouth, draw a small shape with a line for the top teeth or a darker inside.
Step 5: Draw the hair
Hair adds the most personality to an anime character.
- Sketch the hairline a little above the eyebrows, then draw the hair as a mass that sits outside the skull circle. Hair has volume; it doesn't hug the head.
- Break the mass into clumps. Anime hair is drawn as pointed or curved sections, not individual strands.
- Start from the part. Draw clumps flowing out from where the hair parts.
- Vary sizes. Mix big clumps with a few smaller ones for a natural look.
- Add bangs last, overlapping the forehead and sometimes the eyes.
Step 6: Draw the body
Anime bodies use simplified proportions measured in "heads" (the height of the head from top to chin):
- Adult characters: about 7 to 8 heads tall
- Teenagers: about 6 to 7 heads tall
- Children: about 4 to 5 heads tall
- Chibi: about 2 to 3 heads tall
To draw the body:
- Draw a stick figure to set the pose. Mark the shoulders, hips, elbows and knees.
- Add simple shapes: an oval for the chest, a smaller one for the hips, cylinders for arms and legs.
- Connect the shapes into a smooth outline.
- Hands and feet are often simplified. Practice them separately.
Step 7: Add clothing
Draw clothes over the body, not instead of it. Fabric folds where the body bends: at the elbows, the knees, the waist and under the arms. Give clothing a little thickness at the edges (collars, sleeves, hems) so it doesn't look painted on.
Step 8: Ink your line art
Trace your final lines with a pen or an inking brush. Tips for clean line art:
- Vary the line weight. Use thicker lines on the outer silhouette and where shadows fall, and thinner lines for inner details.
- Draw with your arm, not your wrist, for long, smooth curves.
- Rotate the paper so you're always drawing in your most comfortable direction.
When the ink is dry, erase your pencil guidelines.
Step 9: Color with cel shading
Classic anime coloring uses flat colors and hard-edged shadows:
- Fill base colors for skin, hair, eyes and clothes.
- Choose a light source, for example the top left.
- Add one shadow tone on the side away from the light: under the hair, under the chin, inside folds. Keep the edges sharp.
- Add highlights to hair and eyes.
Pick shadow colors that are slightly cooler or more saturated than the base color instead of just adding gray.
Common beginner mistakes
- Eyes too high. Anime eyes sit around the middle of the head.
- Hair too flat. Remember that hair sits on top of the skull and has volume.
- Stiff poses. Start with a curved line of action instead of a straight stick figure.
- Same line weight everywhere. Varying thickness makes drawings look polished.
- Copying without learning. Studying artists you love is great, but practice from life and from your own ideas too.
Practice ideas
- Draw the same face with six different expressions.
- Draw one character with five different hairstyles.
- Redraw a character in a chibi version.
- Design your own anime OC. Our guide on how to make an OC and the character design tips can help.
Need a reference to practice from? Generate an original anime character in the Anime Character Creator and try drawing it in your own style.
FAQ
What is the easiest way to draw an anime character?
Start with a chibi: a large round head, a small body and simple features. Chibi characters are forgiving and teach you the basics of anime faces.
How long does it take to learn to draw anime?
With regular practice, most beginners see big improvements in a few months. Drawing a little every day is more effective than long sessions once a week.
Do I need a drawing tablet?
No. Paper and pencil are perfect for learning. A tablet helps with coloring and editing later, but it's not required.
How do I make my anime characters look unique?
Give each character a distinct silhouette, a signature detail and a color palette that fits their personality. Avoid copying popular characters' hairstyles and outfits too closely.