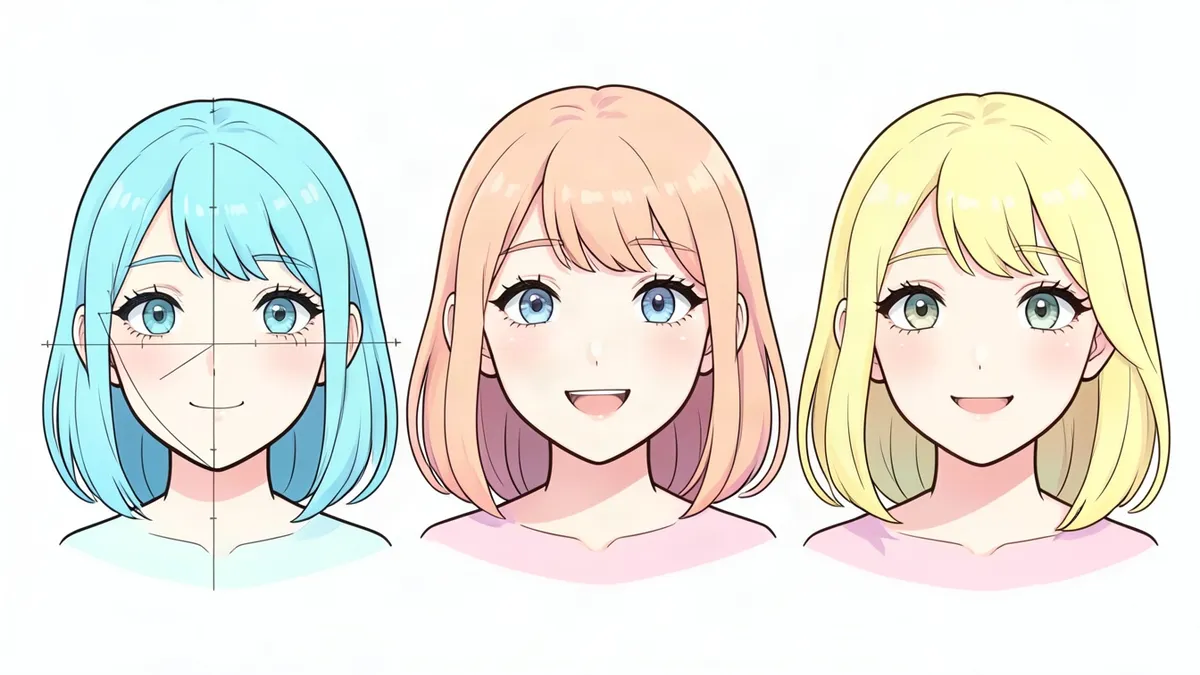
Learning how to draw a face gets much easier once you know that every face follows the same map. The features sit at predictable heights, and a few light guidelines will put them there. This guide covers a front-view adult face using the proportions taught in most drawing classes.
You need a pencil, an eraser and paper. Draw the guidelines lightly, since most of them get erased.
Face proportions to remember
- Eyes sit halfway down the head. Measure from the very top of the skull, not the hairline, to the chin.
- The head is about five eye-widths across, with one eye-width between the eyes.
- The face divides into thirds from hairline to chin: hairline to eyebrows, eyebrows to the base of the nose, base of the nose to the chin.
- Ears run from the eyebrow line to the nose line.
- The mouth opening sits about one third of the way from the nose to the chin.
These are averages. Real faces differ from them slightly, and those differences are what make a portrait look like one person and not another.
How to draw a face step by step
- Draw an egg shape with the narrow end down. Make it about two thirds as wide as it is tall.
- Add a vertical center line. It keeps the two sides even.
- Add a horizontal line halfway down. This is the eye line.
- Mark the hairline a short way below the top of the egg. The skull continues above it.
- Split hairline to chin into three equal parts with two light lines. The upper one is the eyebrow line and the lower one is the nose line. The eyebrow line should land just above your eye line.
- Place the eyes. Divide the eye line into five equal parts. Draw an almond-shaped eye in the second and fourth parts and leave the middle one empty.
- Draw the eyebrows on the eyebrow line, a little longer than the eyes.
- Draw the nose. Its base rests on the nose line. Drop two faint lines straight down from the inner corners of the eyes. The sides of the nose fit between them.
- Draw the mouth. Put the line between the lips one third of the way from the nose line to the chin. The corners line up roughly with the centers of the eyes. The lower lip is usually fuller than the upper.
- Add the ears on the sides of the head, between the eyebrow line and the nose line.
- Shape the jaw and neck. Refine the jaw from the ears down to the chin. Start the neck from the jaw, not from the chin. It is nearly as wide as the jaw.
- Add hair as one mass. It starts at the hairline and rises above the skull line. Hair has volume.
- Finish. Draw the irises so the upper eyelid covers their top edge, darken the lines you want to keep and erase the guides.
How to draw face shapes
The egg is a starting point. To change the face shape, decide where the face is widest and how the chin ends:
- Oval: widest at the cheekbones, gently narrowing to a rounded chin.
- Round: width close to length, with full cheeks and a soft jaw.
- Square: forehead, cheeks and jaw about the same width, with an angular jaw.
- Heart: wide forehead narrowing to a pointed chin.
- Long: clearly longer than wide, with straight sides.
- Diamond: wide cheekbones with a narrower forehead and chin.
Keep the feature lines where they are and redraw only the outline.
Adjusting for age and gender
Artists often draw a face read as female with a softer jaw, thinner arched brows and fuller lips, and a face read as male with a heavier brow, a squarer jaw and a thicker neck. These are drawing conventions, and real faces mix them freely.
For young children, the features sit lower. The eyebrows, not the eyes, land near the halfway line, the cheeks are round and the chin is small.
Common mistakes and how to fix them
- Eyes too high. The forehead and skull take up the whole top half of the head. Measure from the top of the skull.
- Eyes too close together or too far apart. Check for one eye-width between them.
- A flat head. Add height above the hairline and let the hair sit outside the skull.
- Small ears set too high. They are as tall as the middle third of the face.
- A lopsided face. Turn the paper upside down or hold it up to a mirror. Errors jump out.
- A nose drawn with hard lines on both sides. Draw the base and nostrils, then suggest the bridge with light shading on one side only.
Practice drills
- Guideline ovals. Draw ten eggs with only the center line, eye line and thirds. One minute each. Speed matters more than neatness.
- Feature page. Fill a page with ten eyes, ten noses and ten mouths from your own photos or a mirror.
- Six shapes. Draw six identical sets of guidelines and give each a different face shape.
- Easy self-portrait. Draw yourself from a mirror in ten minutes, once a day for a week, measuring where your face differs from the standard map.
Draw a face for your own character
Once the map feels natural, bend it. Bigger eyes and a shorter lower face give a younger, more stylized look, which is the basis of the method in how to draw anime characters. If you want a face to copy while you practice, generate a portrait in the Character Creator and redraw it with your own guidelines.
Next steps: how to draw a person for the rest of the figure, how to draw people for variety, and people drawing ideas for faces to practice on.
FAQ
How do you draw a face for beginners?
Start with an egg shape, add a vertical center line and a horizontal line halfway down for the eyes, divide the face into thirds for the brows and nose, then place each feature on its line.
Where do the eyes go on a face?
Halfway between the top of the skull and the chin. Beginners usually place them too high because they forget how much room the forehead and hair take.
How do I draw a face from the side?
A side-view head is about as deep as it is tall, so it fits in a square. The same horizontal lines apply. Place the ear just behind the vertical midpoint of the head.
How do I make a portrait look like the person?
Draw the standard proportions first, then compare. Is their nose longer than a third? Are their eyes closer together? Likeness comes from those small differences.