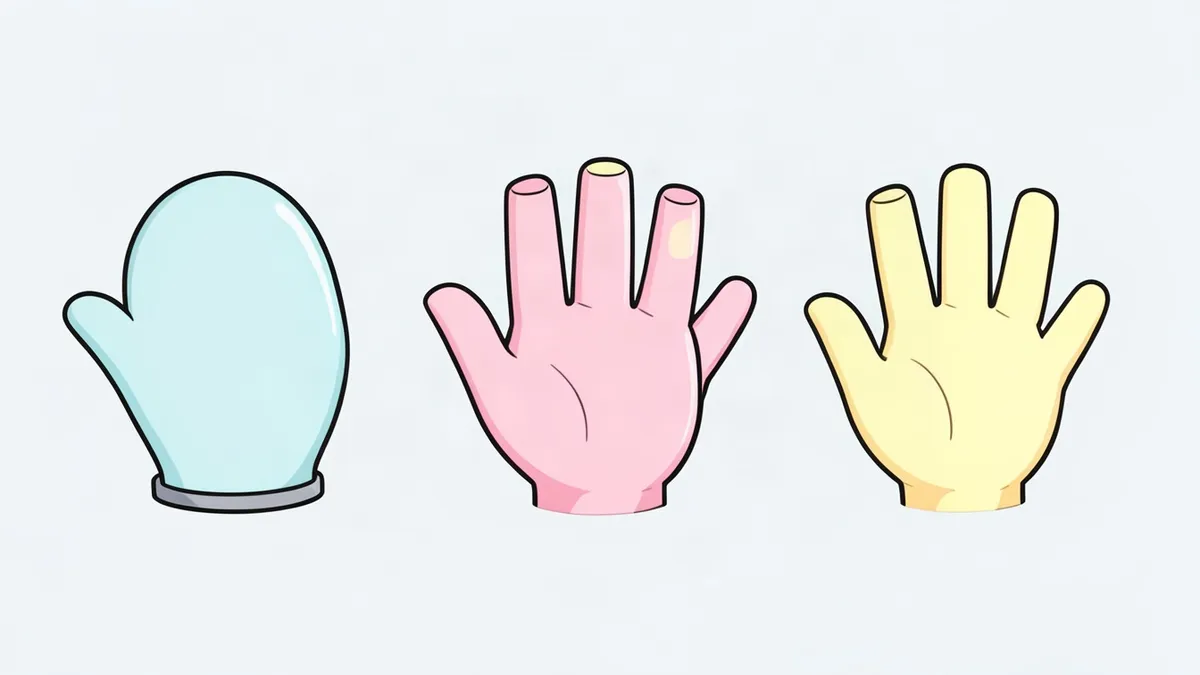
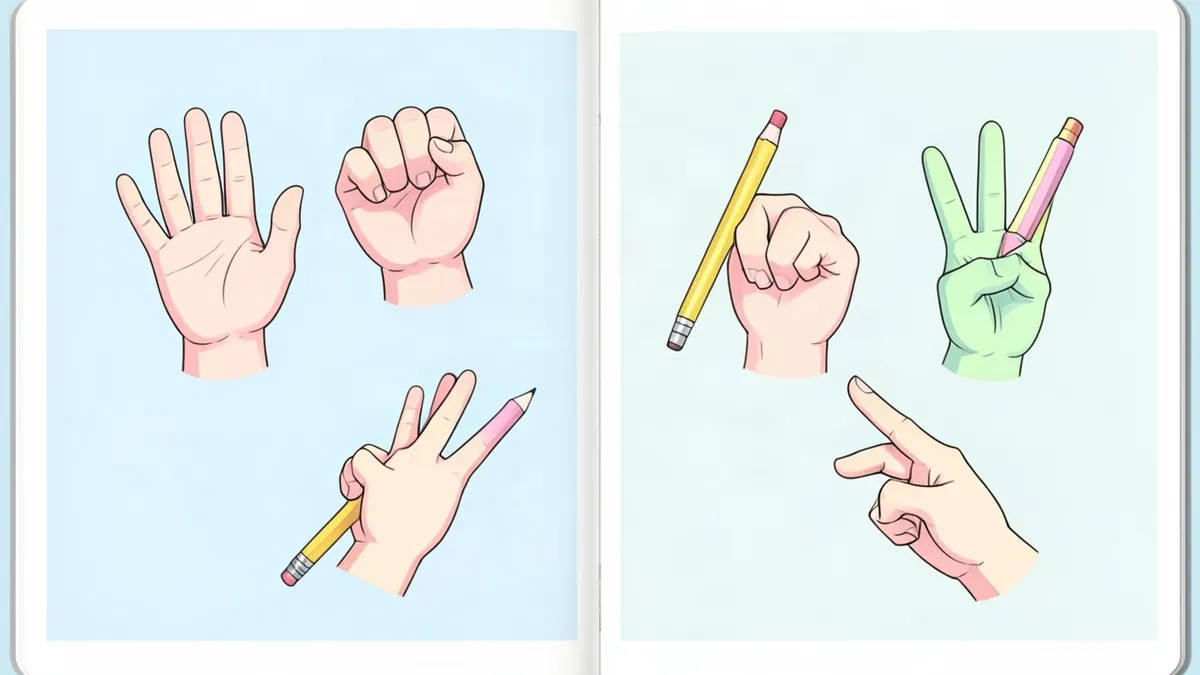
If you want to know how to draw a hand without it turning into a bunch of sausages, the answer is to stop drawing fingers first. A hand is a palm block with five jointed parts attached, and once the block is right, the fingers have somewhere to go.
This guide builds one open hand, seen from the back, with your own hand as the model. Lay your non-drawing hand flat on the table and look at it as you go.
- The hand is about as long as the face, from chin to hairline.
- The palm and the middle finger are about the same length. The base of the middle finger is the halfway point of the hand.
- Each finger has three segments, and each segment is a little shorter than the one before it. The thumb has two.
- Knuckles and fingertips sit on curves, never on straight lines. The middle finger is the high point.
- The index and ring fingers are close in length. The tip of the little finger reaches about the top joint of the ring finger.
- The thumb starts low, near the wrist. Held against the hand, its tip reaches about the middle of the index finger's lowest segment.
- Draw the palm block. Make a shape close to a square, slightly wider at the top, where the knuckles are, than at the wrist.
- Curve the top edge. Turn the top of the block into a shallow arc that peaks at the middle finger and drops toward the little finger.
- Mark four knuckle points along that arc, evenly spaced.
- Sketch a mitten. Above the block, draw a faint rounded shape as tall as the palm, peaking above the second knuckle point. This sets how long the fingers will be.
- Draw four center lines from the knuckle points to the mitten edge. Let them fan out slightly. The middle one is longest, the index and ring a bit shorter, the little finger shortest.
- Mark the joints. Put two small ticks on each finger line to split it into three segments, each a little shorter than the one below. The ticks should form arcs across the fingers too.
- Add the thumb wedge. On one side of the palm block, draw a triangle that starts near the wrist and covers about the lower half of that side.
- Draw the thumb from the tip of the wedge as two segments, angled away from the palm.
- Wrap the lines. Draw the outline of each finger around its center line, like a narrow tube that is slightly wider at the joints and rounded at the tip. Join neighboring fingers with small U-shaped curves, not sharp V shapes.
- Attach the wrist. Two lines running down from the block. The wrist is narrower than the palm.
- Add back-of-hand details. Short curved marks for the knuckles, a few creases over the middle joints, and fingernails that cover about half of each last segment.
- Clean up. Darken the outline and erase the block, the mitten and the center lines.
Follow the same steps, then change the details:
- Three pads. Draw a large rounded pad at the base of the thumb, a longer pad along the little-finger side, and a row of small pads just under the fingers.
- Shorter-looking fingers. From the palm side the skin between the fingers sits higher, so the fingers appear shorter than they do from the back.
- Creases. Two long creases cross the palm, and a third curves around the thumb pad. Each finger joint has one or two short lines.
- Fingers that end in a straight row. Check the arcs. Fingertips, joints and knuckles each follow their own curve.
- Rubbery fingers with no joints. Mark three segments and let the outline change direction slightly at each joint.
- A thumb growing from the knuckle row. The thumb comes out of the side of the palm, low down, from its own wedge.
- A tiny palm. Compare it with the middle finger. They should be about equal.
- Stiff, parallel fingers. Fan the center lines out a little, and leave small gaps of different sizes between fingers.
- Dark lines too early. Keep the block and mitten very light so they erase cleanly.
- Trace and build. Trace around your hand, then draw the palm block, arcs and joint ticks inside the tracing. It shows you where the structure really sits.
- Five flat hands. Draw your non-drawing hand flat on the table five times, three minutes each, using the steps above.
- Mitten sprints. Draw ten mittens with the thumb in ten different positions, thirty seconds each, with no fingers at all.
- Life size. Draw your hand at its real size, then lay your hand next to the drawing and compare the lengths.
The same block-and-mitten method works in any style. For very simple or chibi characters you can stop at the mitten stage, which is why the Chibi Maker bases have rounded mitt hands. For a full character to practice on, create one in the Character Creator and focus on redrawing just the hands.
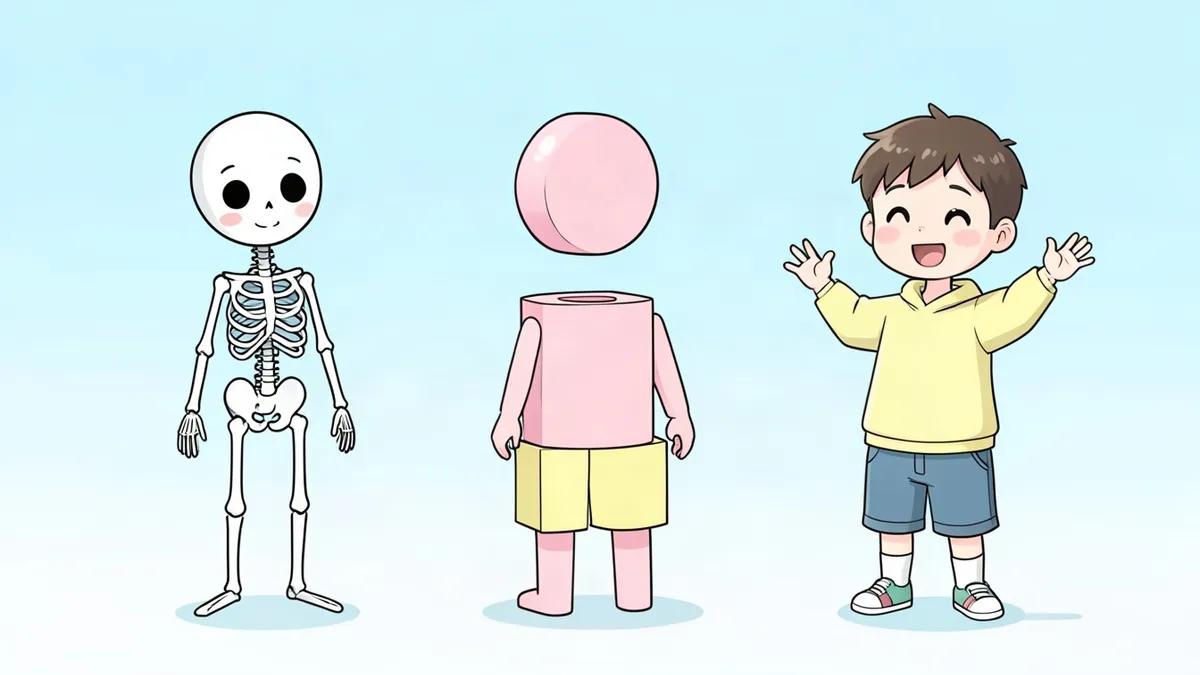
Keep going with how to draw hands for fists, pointing and hands that hold things, and how to draw a body to attach them to. For fun, there are also things to draw on your hand.
Draw a square-like palm block, add a mitten shape for the fingers and a wedge for the thumb, then divide the mitten into four fingers. Refine only after those big shapes look right.
The middle finger is about as long as the palm. The other fingers are shorter, following a curve, with the little finger reaching about the top joint of the ring finger.
Usually because the fingers are drawn as outlines. Think of each finger segment as a small cylinder and the palm as a box with thickness, and let shapes overlap.
It's a useful first step if you then draw the structure inside the tracing. Follow it with freehand drawings from the same pose so the knowledge transfers.